How to navigate off Ben Nevis Summit
14/12/2018WHAT TO PACK FOR SCOTTISH WINTER CLIMBING
AUTHOR | STEVE HOLMES
I have described what to pack for Scottish winter climbing when out in the mountains with friends, which differs from the equipment I take whilst working with guests. With that in mind, I have tried to list the benefits of my choice rather than explain how to use them.
There is a unique winter climbing scene in Scotland where budding mountaineers attempt to scale classic and modern routes up the side of mountains in any conditions the weather throws at them. It takes a certain type of person; someone willing to get up in freezing conditions, often in the dead of the night to literally torture themselves in horrendous weather just to climb a mountain. OK, it isn’t always so bad, we are occasionally blessed with bright blue skies and crisp fluffy snow to play in – a rarity admittedly!
Unlike our European neighbours, there are no bolts placed in our mountain crags, meaning we have to carry our own equipment to safeguard our chosen route. Often the harder the route the more equipment you take to ensure falling is somewhat safeguarded. Warm clothes, sharp spiky metal things, helmets, gloves, hats and the whole paraphernalia of kit is taken with us on a journey that’s often filled with mixed emotions.
Boots
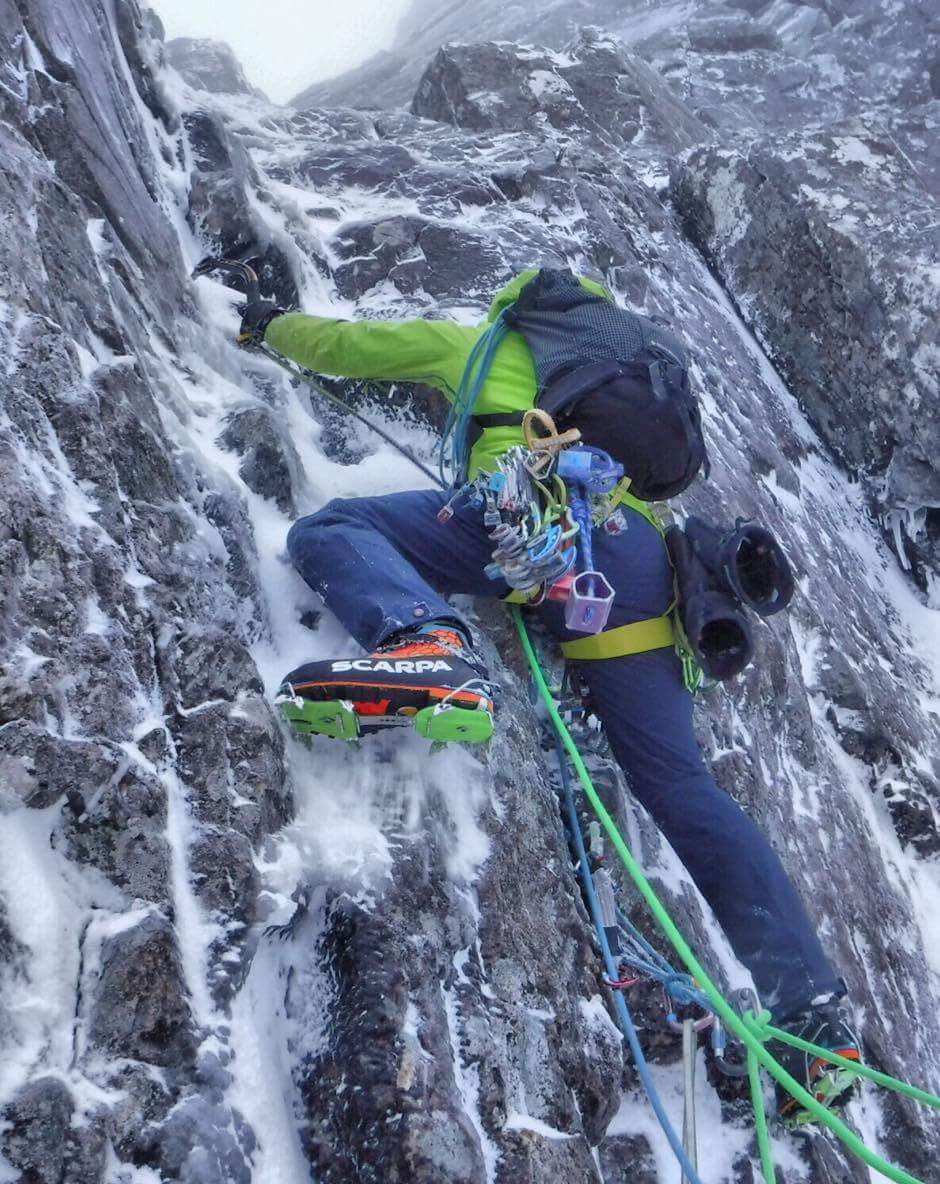
I use Scarpa Phantom Tech mountaineering boots which have an integrated gaiter, something that has become popular with guides and Scottish winter climbers in recent years. The Phantom Tech is streamlined and climbs technical ground exceptionally well. It has an Outdry gaiter and very warm PrimaLoft lining married together with a carbon fibre midsole and Vibram outsole, making this one seriously technical boot.
Crampons
Black Diamond Stinger crampons fit my Scarpa Phantom Tech boots really well. They are very technical crampons that come with mono front points, perfect for mixed and ice climbing. The anti-balling plate sheds snow as good as any I have used and although there are slightly lighter technical crampons without balling plates, the snow is often wet in Scotland so I find these are a good compromise. Read more about crampons in our Crampon Guide.
Rope
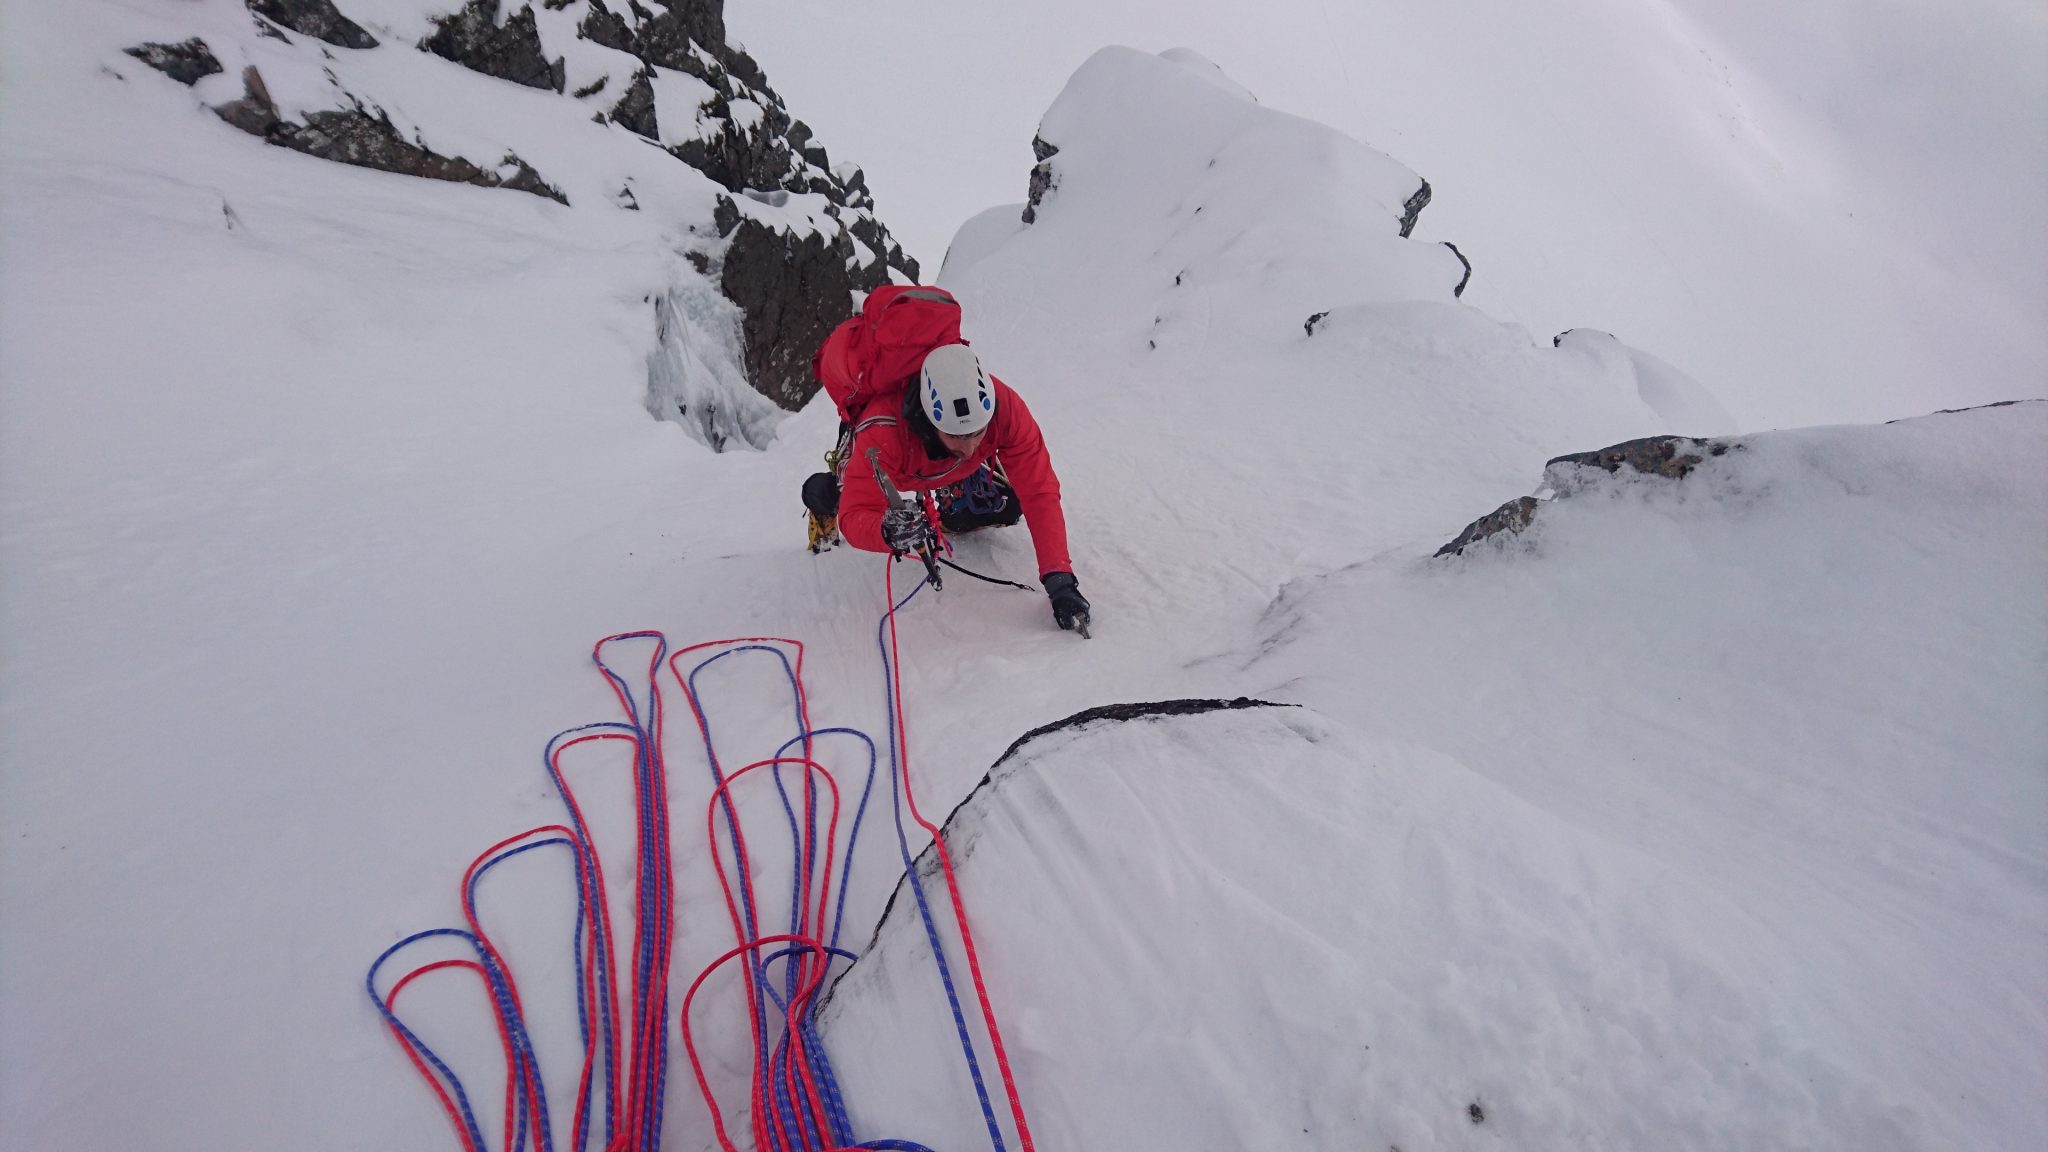
When climbing with friends we each carry 60 meters of climbing rope. By far the best pair of ‘half ropes’ I have used are Edelweiss Oxygen 8.2mm Unicore ropes. They handle superbly and are treated in a ‘Supereverdry’ coating that helps keep water out in winter. One of the main attractions of this rope is durability. Having used Beal Icelines for many years I have found the Edelweiss Oxygen much more durable and are barely showing signs of use where the Icelines would have looked tired. They come in purple and red for easy identification and weigh approximately 43 g/m.
Pack
The Black Diamond Speed Zip 33l is a great all-round pack. Although it is fairly heavy weighing 1.2kg out of the packaging and approximately 980g after removing the extra bits, the additional features such as integrated helmet holder, easily adjustable compression straps for carrying ropes and skis plus a stripped-down streamline design all add to the pack’s usability across climbing and skiing disciplines. For many years I had used the Patagonia Ascensionist 25l which really is a brilliant bit of kit, the added helmet holder and ability to carry skis now sets the BD Speed zip apart. People anxious about zips breaking should look no further than the Black Diamond Speed.
Technical Climbing Ice Axes
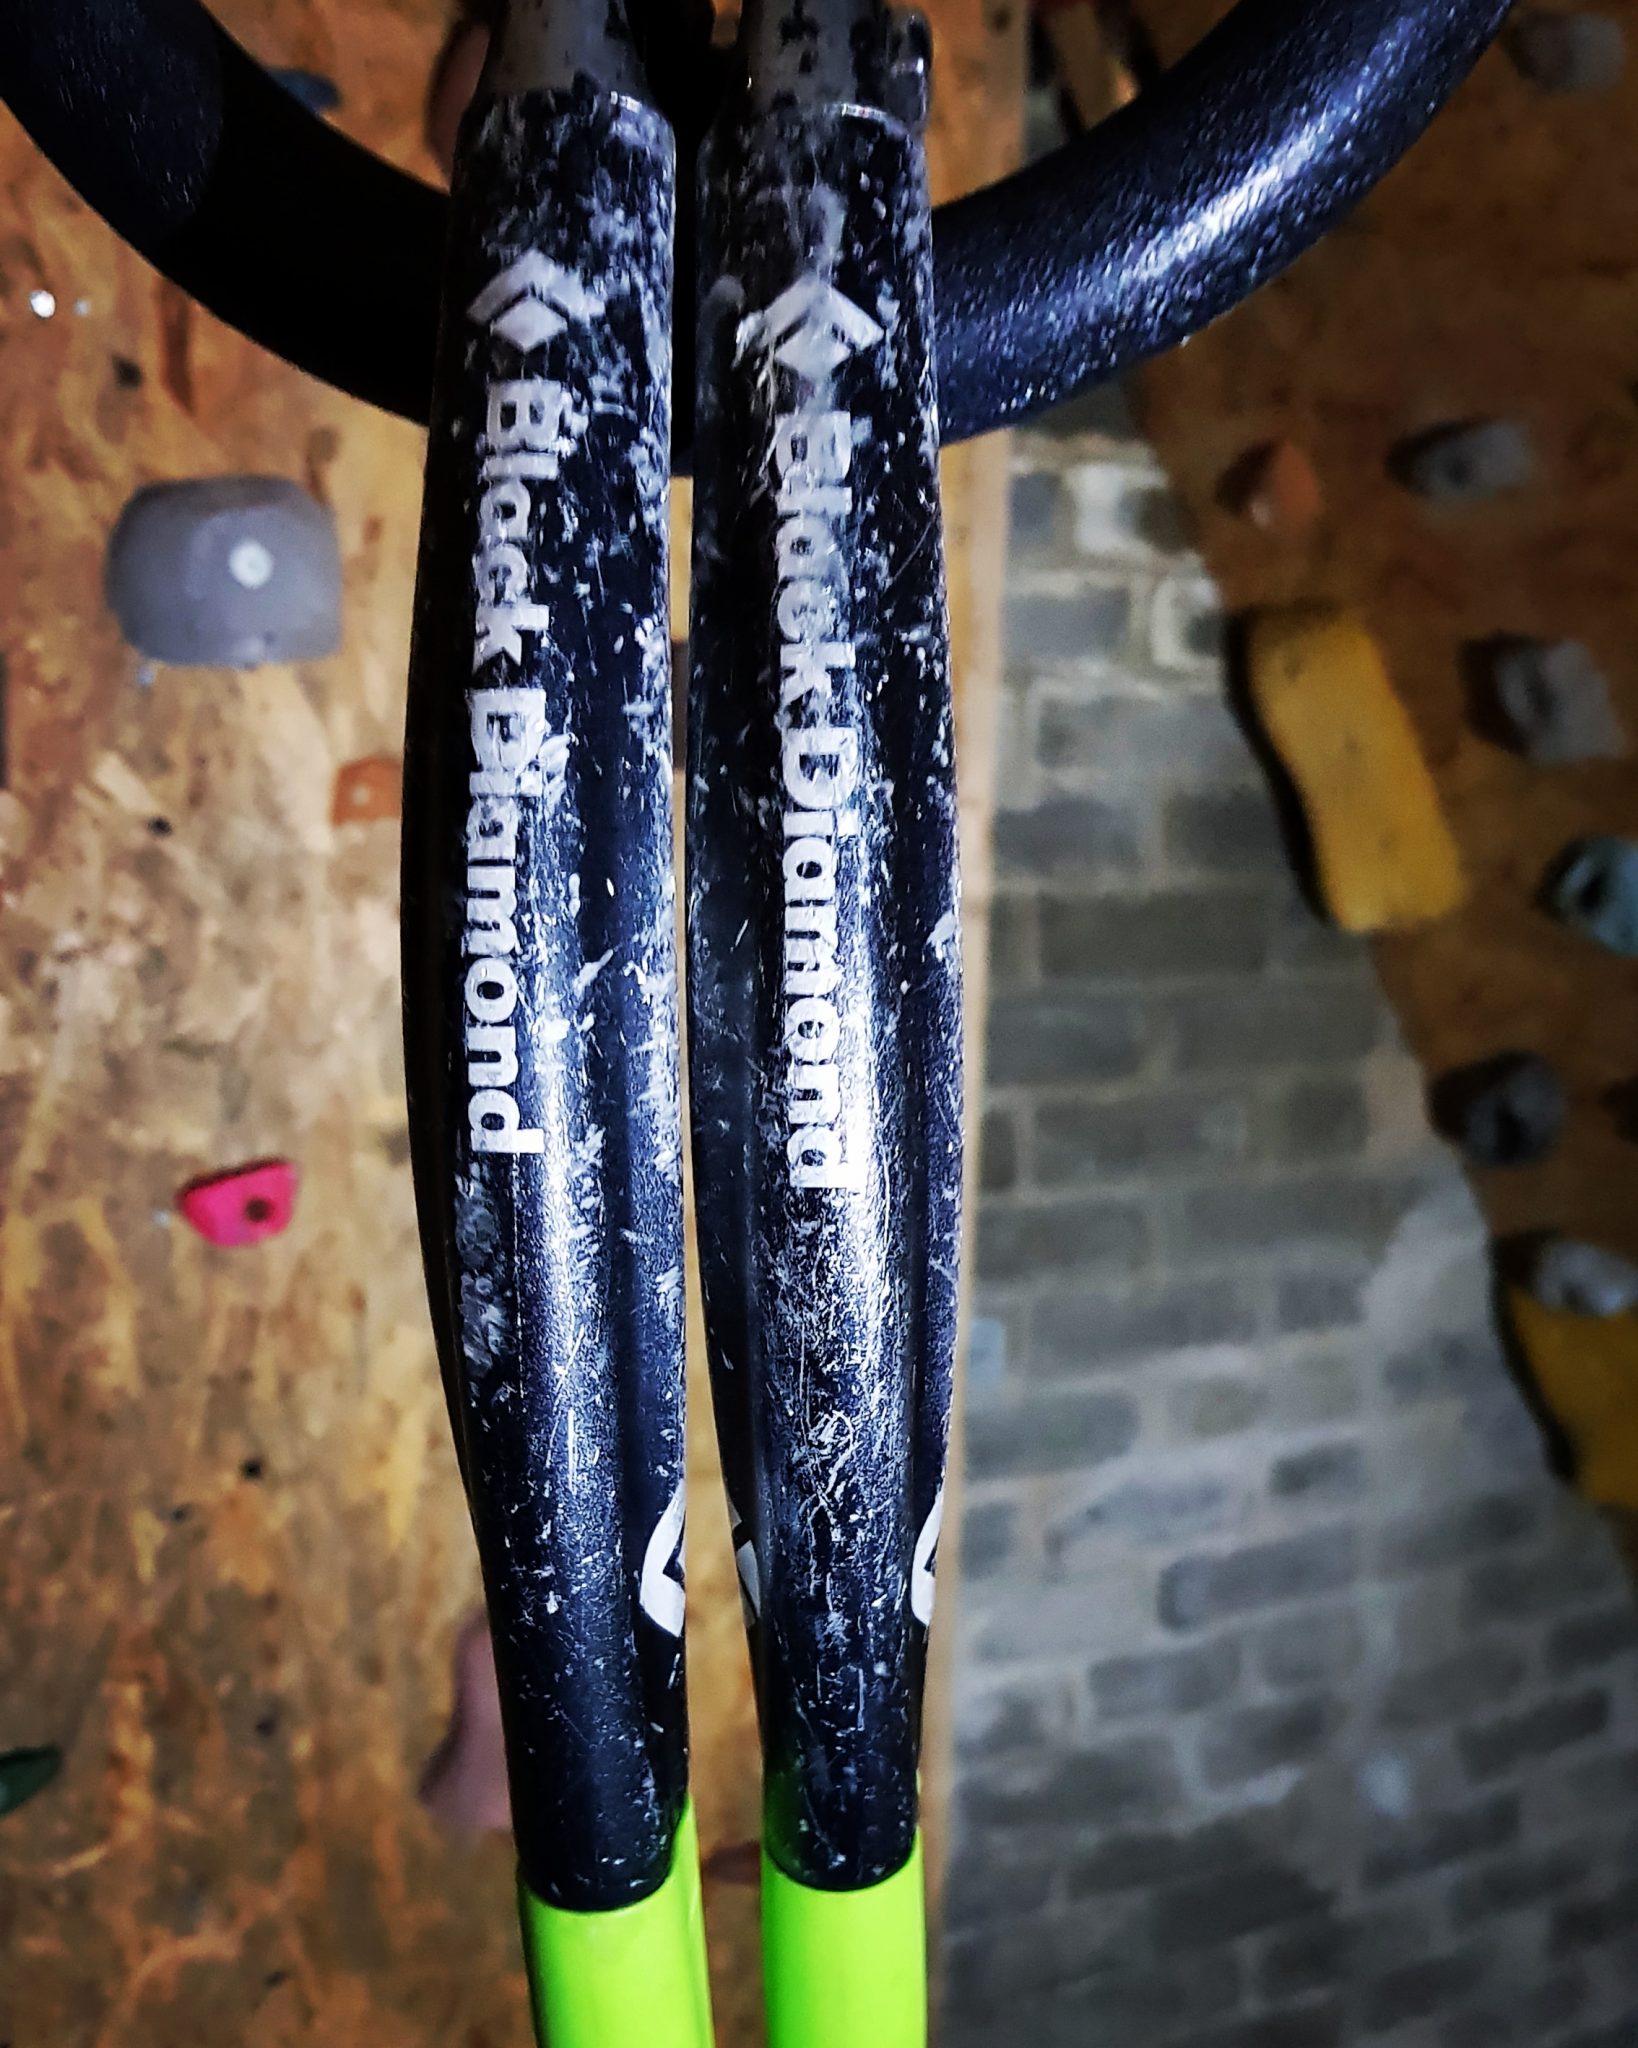
There are many radical bendy-looking tools on the market at the minute and over the past 4 years, I have tried most for climbing in Scotland. A stand-out axe has been the Black Diamond Fuel. Ergonomically curved with an adjustable handle, strong shaft and picks make up an excellent technical climbing tool. One of the downfalls of curved axes is that they are not very good for walking and plunging into the snow; the Fuel is no different. It also comes without an adze or hammer and cannot be retrofitted which might be a deal-breaker for some people. I have found them to be strong, durable and trustworthy whether on steep mixed ground or ice falls.
Favourite alternatives for Scottish winter climbing would be the Edelrid Rage and Grivel Tech Machine. Read more about How to Choose an Ice Axe.
Helmet
My helmet of choice is the Black Diamond Vector. It weighs 231 grams in size S/M and is moulded in EPS foam with a polycarbonate shell. The ratchet system for adjustment is very simple to operate with or without gloves and comes with secure headlamp clips for Alpine starts. Black Diamond is among a few manufacturers making lower-profile helmets that fit better under hoods when it’s howling on the belay. Their Vapour helmet, which I use in the summer is even lighter and has an even lower profile, yet it comes at the price of durability.
Climbing Rack
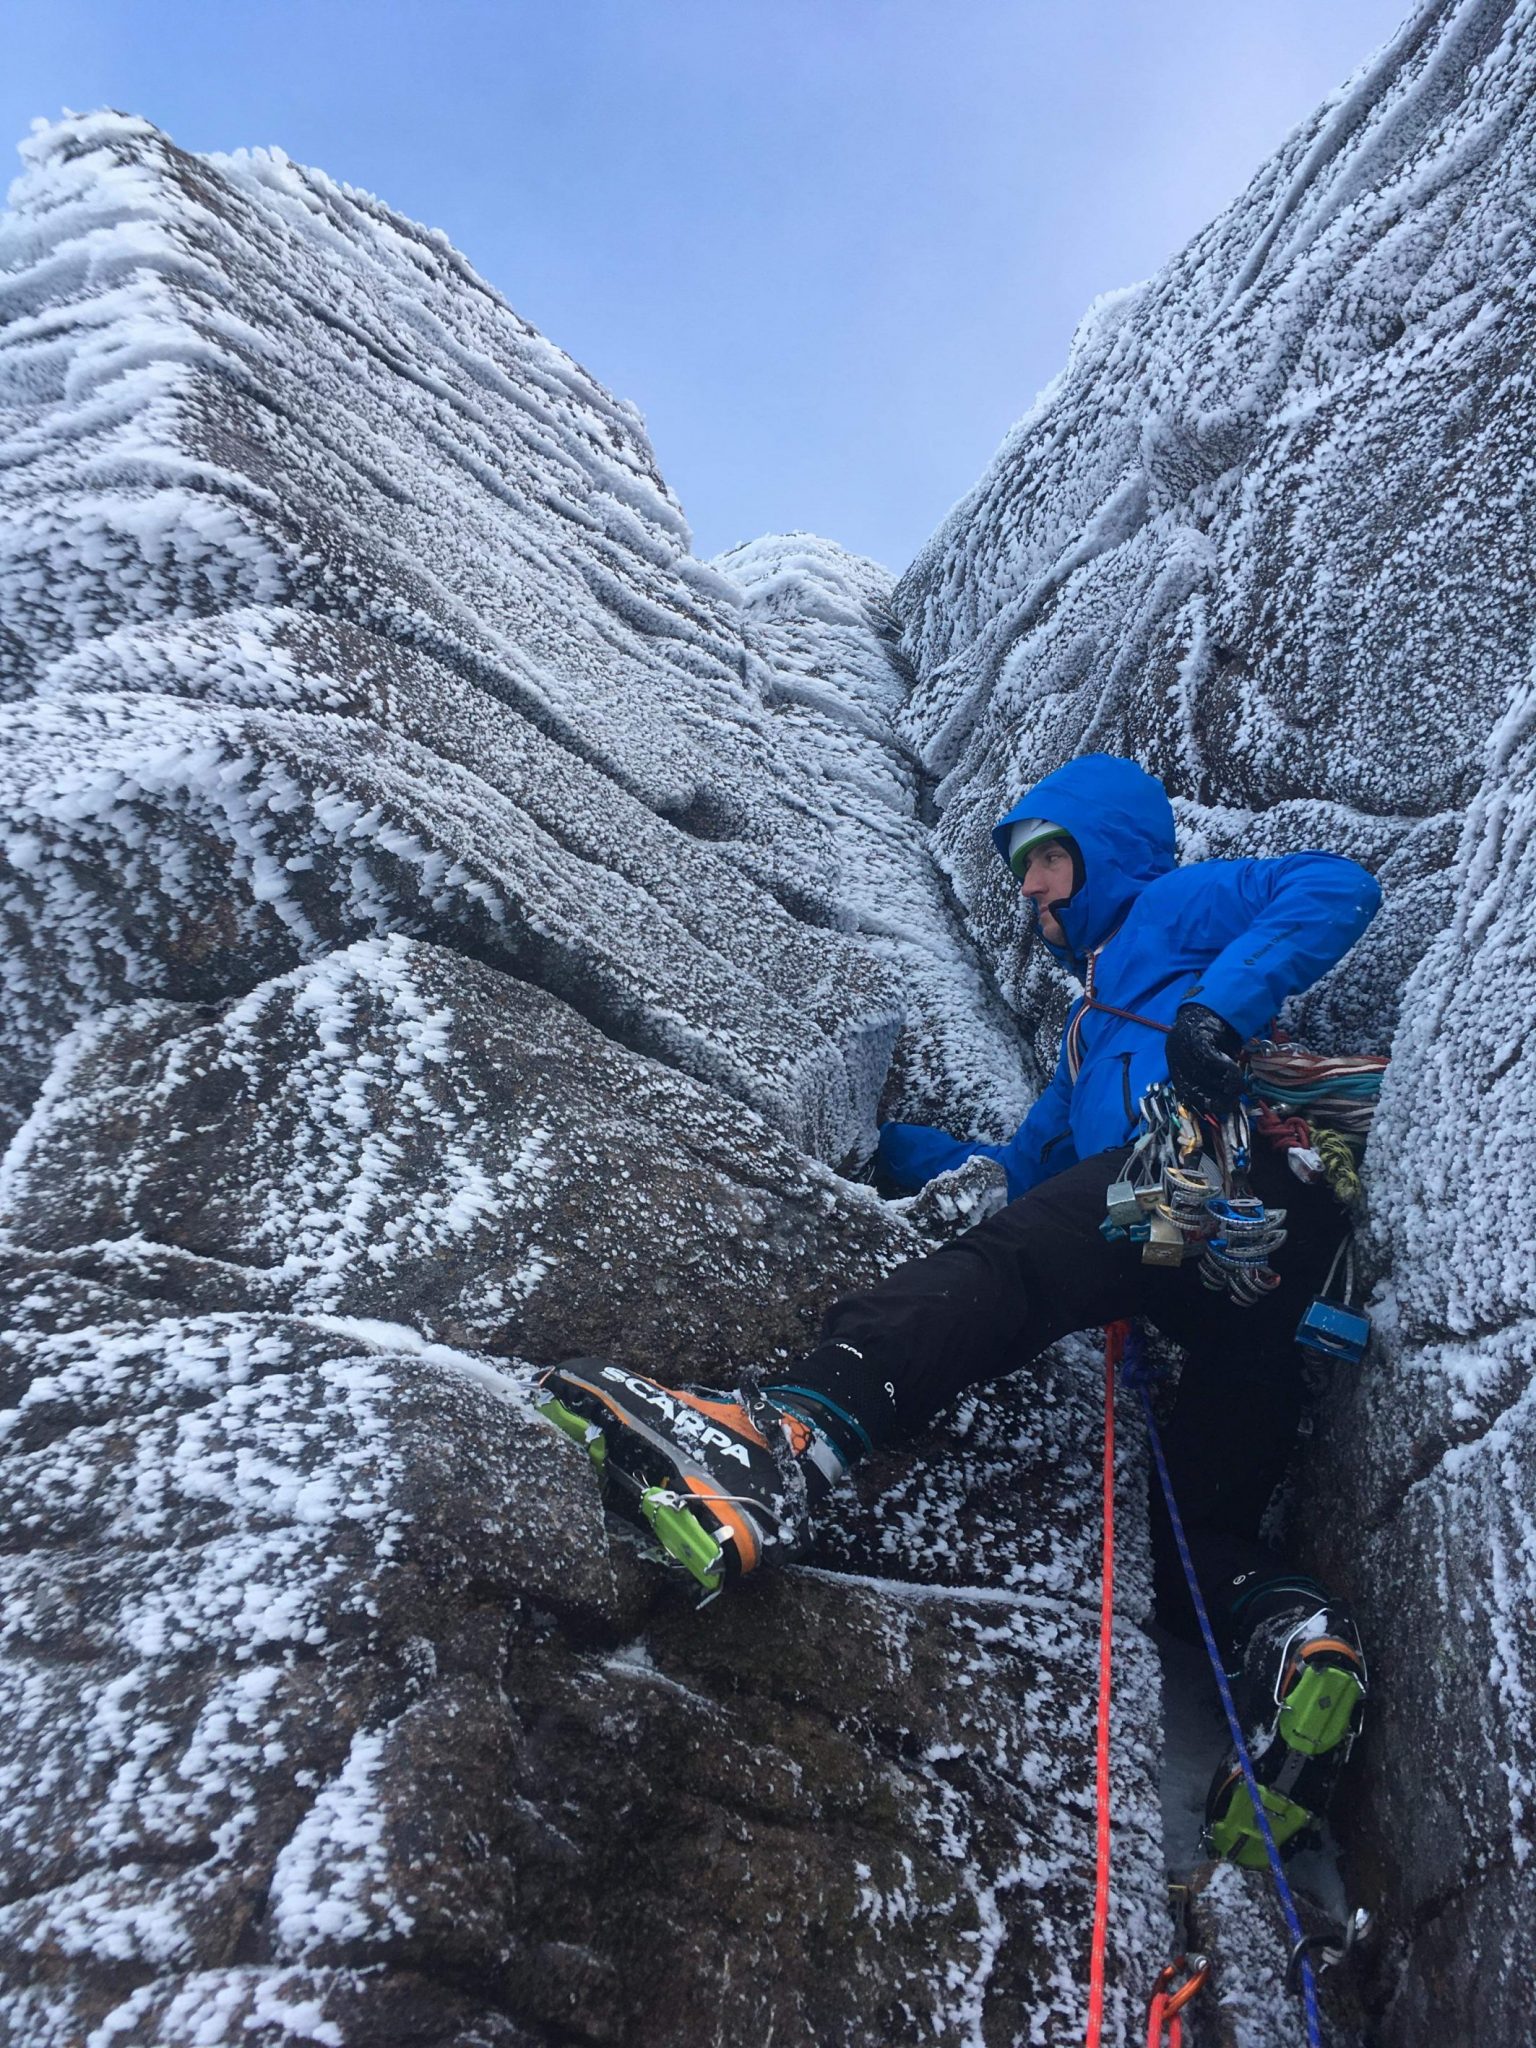
A ‘rack’ for Scottish winter climbing can vary depending on route choice and prevailing conditions. Equipment that always makes the cut includes two sets of wires from 1-10, I like the Wild Country version in winter as I find them easier for the second to extract. Three Black Diamond hexes on wire: sizes 8,9 & 10, Black Diamond Camalots sizes 0.4, 0.75 & 4; ten quickdraws, four of which are extendable on 60cm slings; three screw gate carabiners, two 120cm slings, a belay plate and two prusiks/ropeman for emergency rescues. If conditions dictate that the ground is rockier with less ice I add four more Black Diamond Camalots: 0.3, 0.5, 1 & No.3.
If conditions are icy, then three or four Black Diamond Express Ice screws and included. Just to confuse things more, I take up to 12 ice screws on pure ice routes in exchange for half the amount of wires, hexes and camalots.
I usually also take an assortment of bulldogs and an occasional warthog.
Safety Equipment
Safety equipment is both a personal choice and calculated decision made by each individual’s perception of risk. I firmly believe if you have a huge pack containing safety equipment for every eventuality then you will need that equipment as you will be slowed down by weight and energy expenditure. My pack includes a very lightweight 3 man Ultralight Bothy Bag (250g) and a first aid kit containing life-saving apparatus, not copious amounts of plasters and painkillers (200g).
Accessories
A headtorch is a must-have piece of equipment for the mountains in winter. I carry a Black Diamond ReVolt which has the power to emit 300 lumens, is waterproof and can be used with both standard and rechargeable AAA batteries. For such a lightweight freak I admit that this can be a little excessive for winter climbing as you can get away with lighter, less powerful models. It has stayed in my pack, however, as I sometimes like to make night-time ascents of routes to beat the crowds!
When it is sunny I wear Oakley Stealth Prizm glasses. It’s the fit that impresses me most, with nice snug arms that wrap around your head allowing a secure feel. Great whilst climbing when we tend to look both up and down allot.
Being battered by wind, hail and snow on top of a mountain is so much more fun with a well-fitted pair of goggles to protect your eyes. I wear boys size Julbo goggles as I have a narrow head and adult sizes leave a gap at the temple area. Donning them literally feels like being in a different world, allowing you to navigate and climb more efficiently rather than trying to sink further into your jacket to escape the elements.
Phones have such amazing cameras these days and so I have mine tied to a cord around my neck. This keeps the battery warm against my chest but also allows me to dangle it and take photos. It is always on aeroplane mode however so I have power in an emergency or if I choose to use View Ranger to aid navigation. I currently use a Samsung Galaxy S8.
Harness
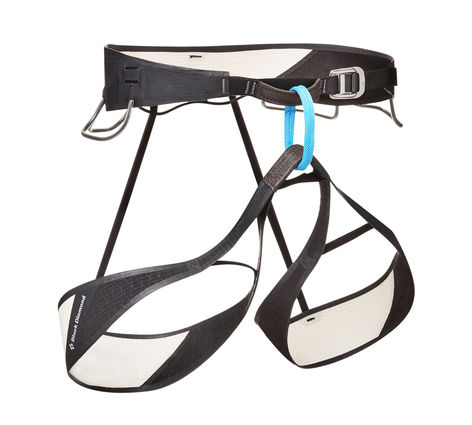
My old Petzl Hirundos has travelled around the world; it’s been used for every type of climbing, from sport climbing to Himalayan Expeditions. Unfortunately, the updated version was a disappointing reproduction of this classic harness, and so now I use a Black Diamond Vision, which is very similar in fit and functionality to the Hirundos only lighter and comfier.
Navigation
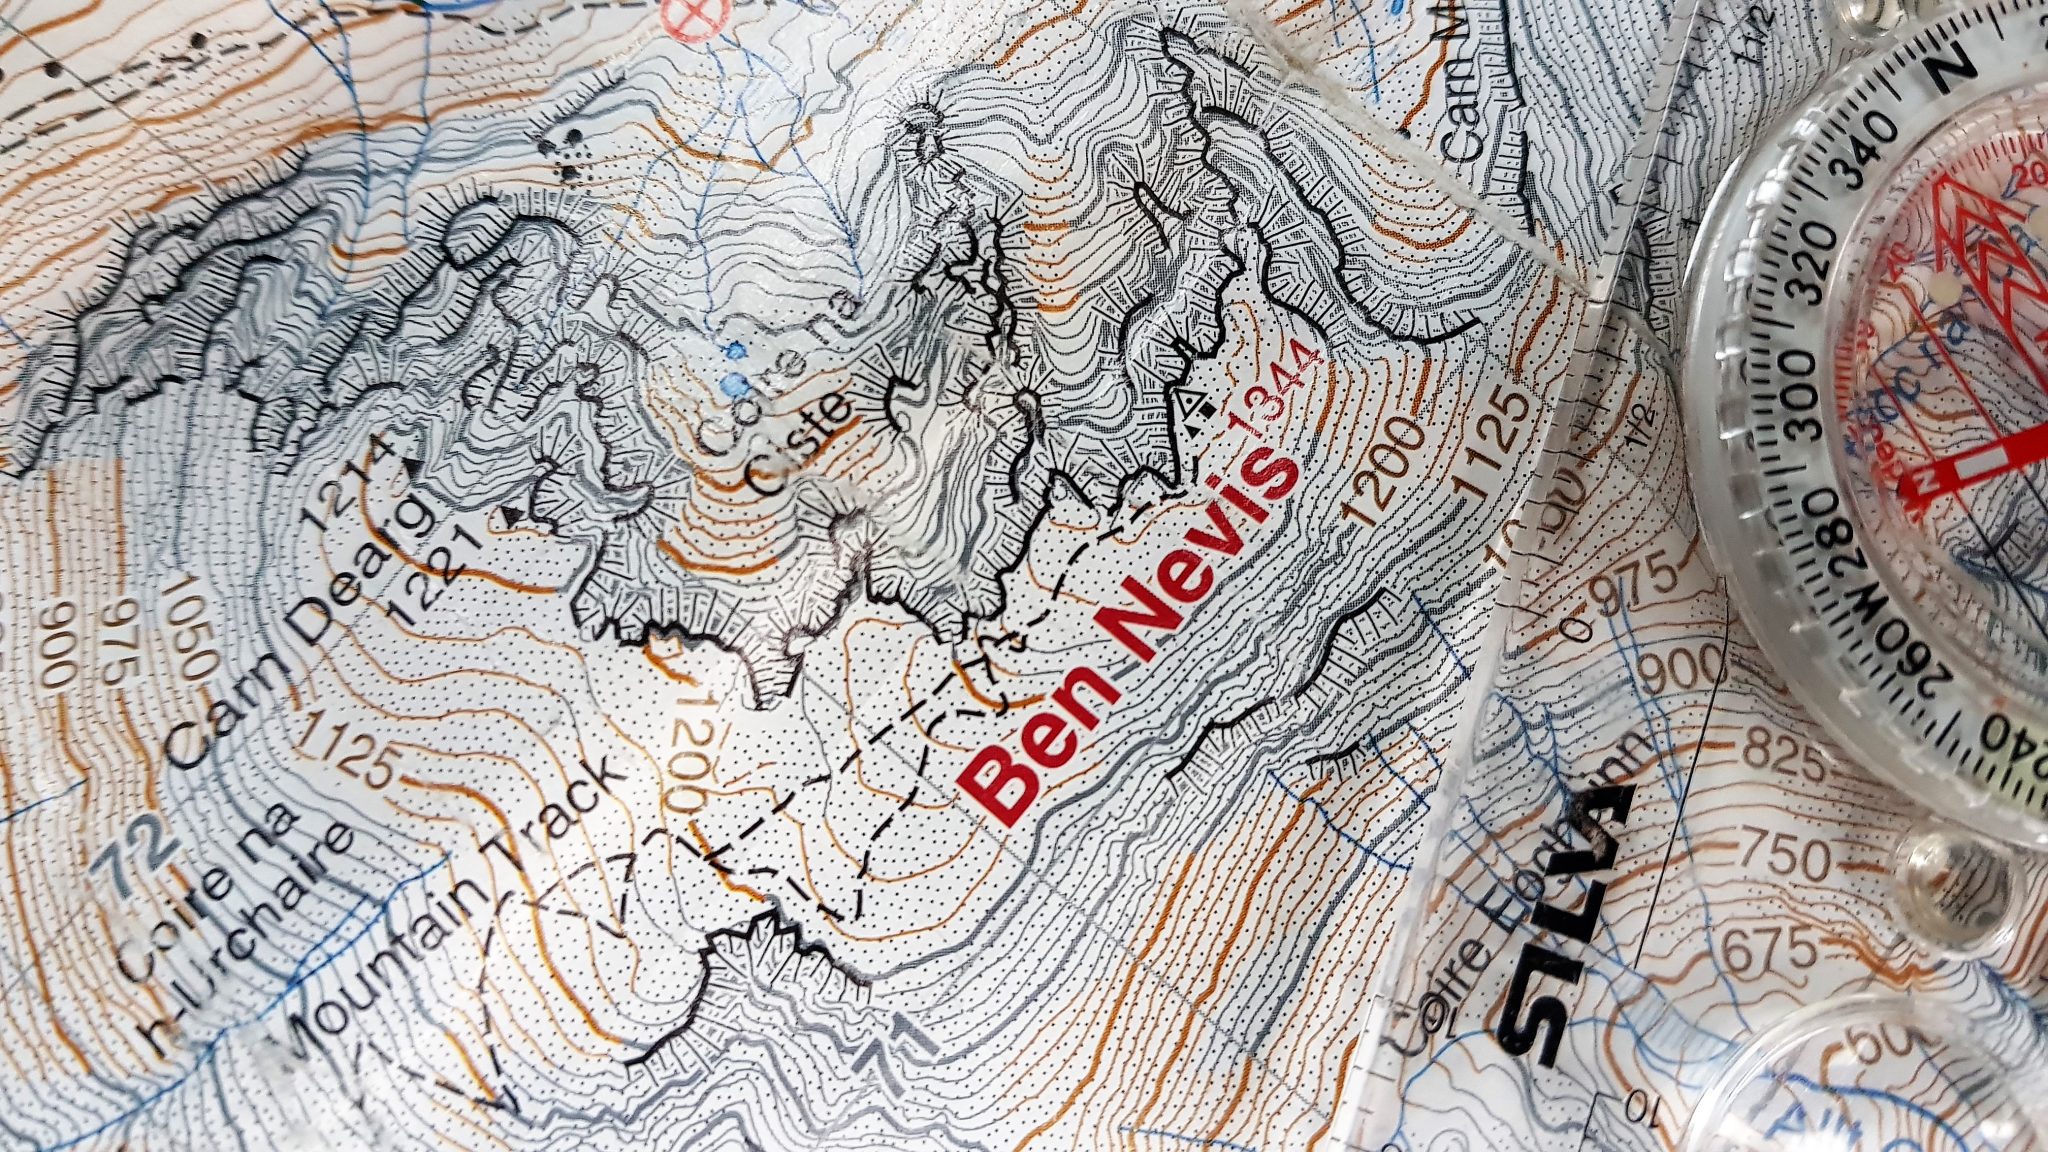
In winter I prefer a 1:50 map as it has less defined detail which means the features should be easily noticeable in bad conditions. I make sure both my climbing partner and I have a compass each incase one is damaged or we drop one. My phone has Viewranger installed with up to date maps included. Finally, we take a guidebook on the area we wish to climb in. The SMC books are popular but the recent Cicerone Ben Nevis book by Mike Pescod is also excellent and more up to date. On days when my focus is on one particular route, I cut the weight by photographing the description and topo before leaving the guide book at home.
Hands and Head
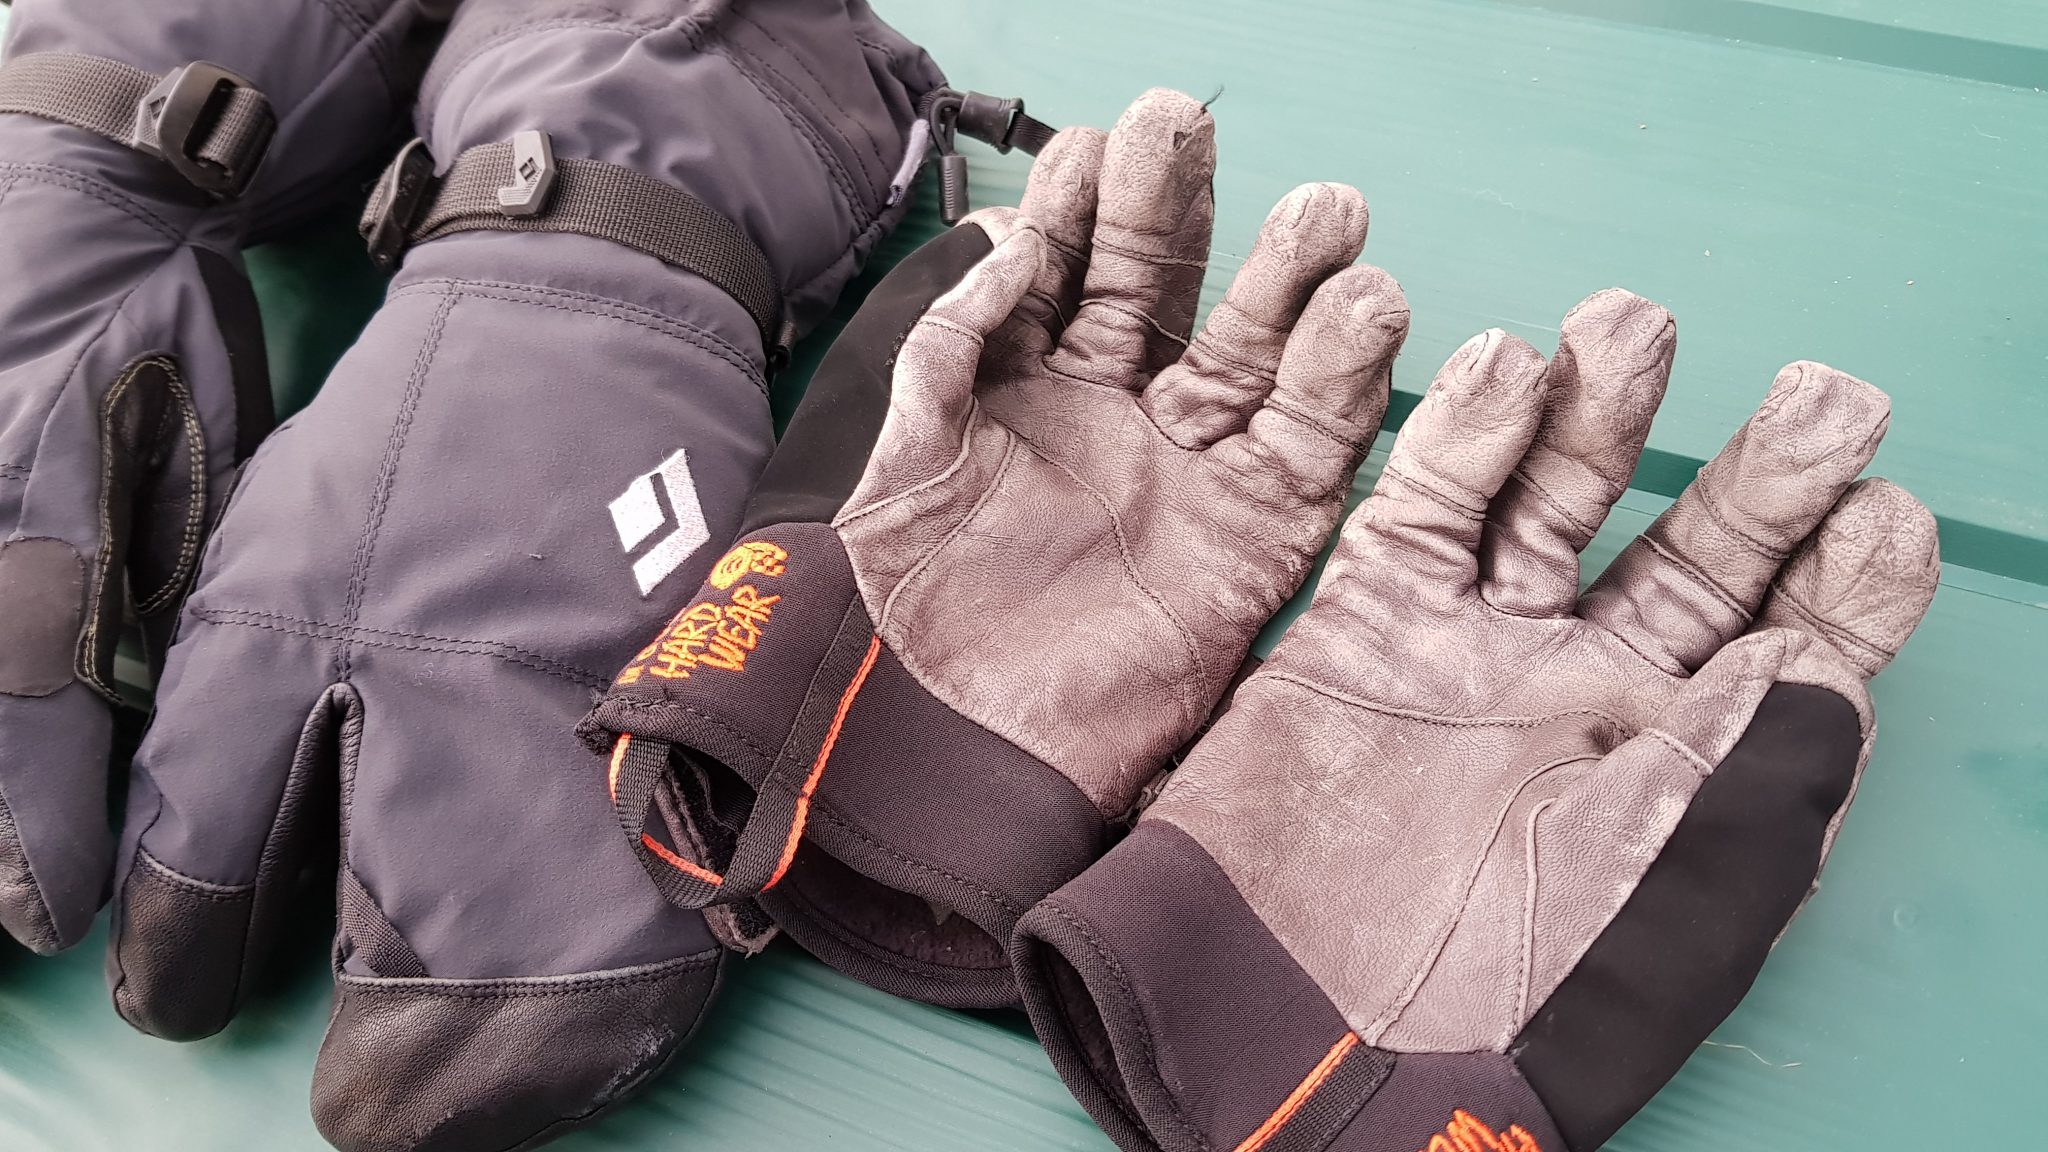
The topic of great discussion is what gloves work in Scottish winter conditions. I have tried so many different ones, but the fit is more important than warmth, lining or price. My pet hate is gloves that are long in the finger, and for that reason, I usually wear women’s specific gloves. At the moment I am using Mountain Hardwear Hydra Pro Gloves (discontinued to my annoyance) for mixed climbing, Mountain Equipment Colouir Gloves for ice and general mountaineering and Black Diamond Soloist mitts for belaying. I also like to stuff hand warmer pads in my mitts to try and fend off the dreaded ‘hot aches’.
Marmot wrist gaiters are excellent. They boost the warmth of the extremities by concealing the wrist and palm of the hand prior to putting your gloves on. The only downfall is they can be tight with super-fitted gloves. A more recent alternative to these is good thumb loops on your mid-layers, such as the Patagonia Nano-Air Light Hybrid Hoody, which has insulation on the back of the thumb loops.
Hat and buff – pretty standard stuff, just make sure your hat is suitably thin if you want it to fit under your helmet.
Clothing
Like many other climbers, I choose the layering system whilst mountaineering in Scotland.
This includes base layers, mid-layers, shell and insulation. I don’t walk from the van wearing all of these layers; I wear lightweight, breathable clothing to walk into the base of the route which in turn avoids sweating too much. The remaining items are carried in my pack and donned at the base of a route or when the temperature decreases significantly.
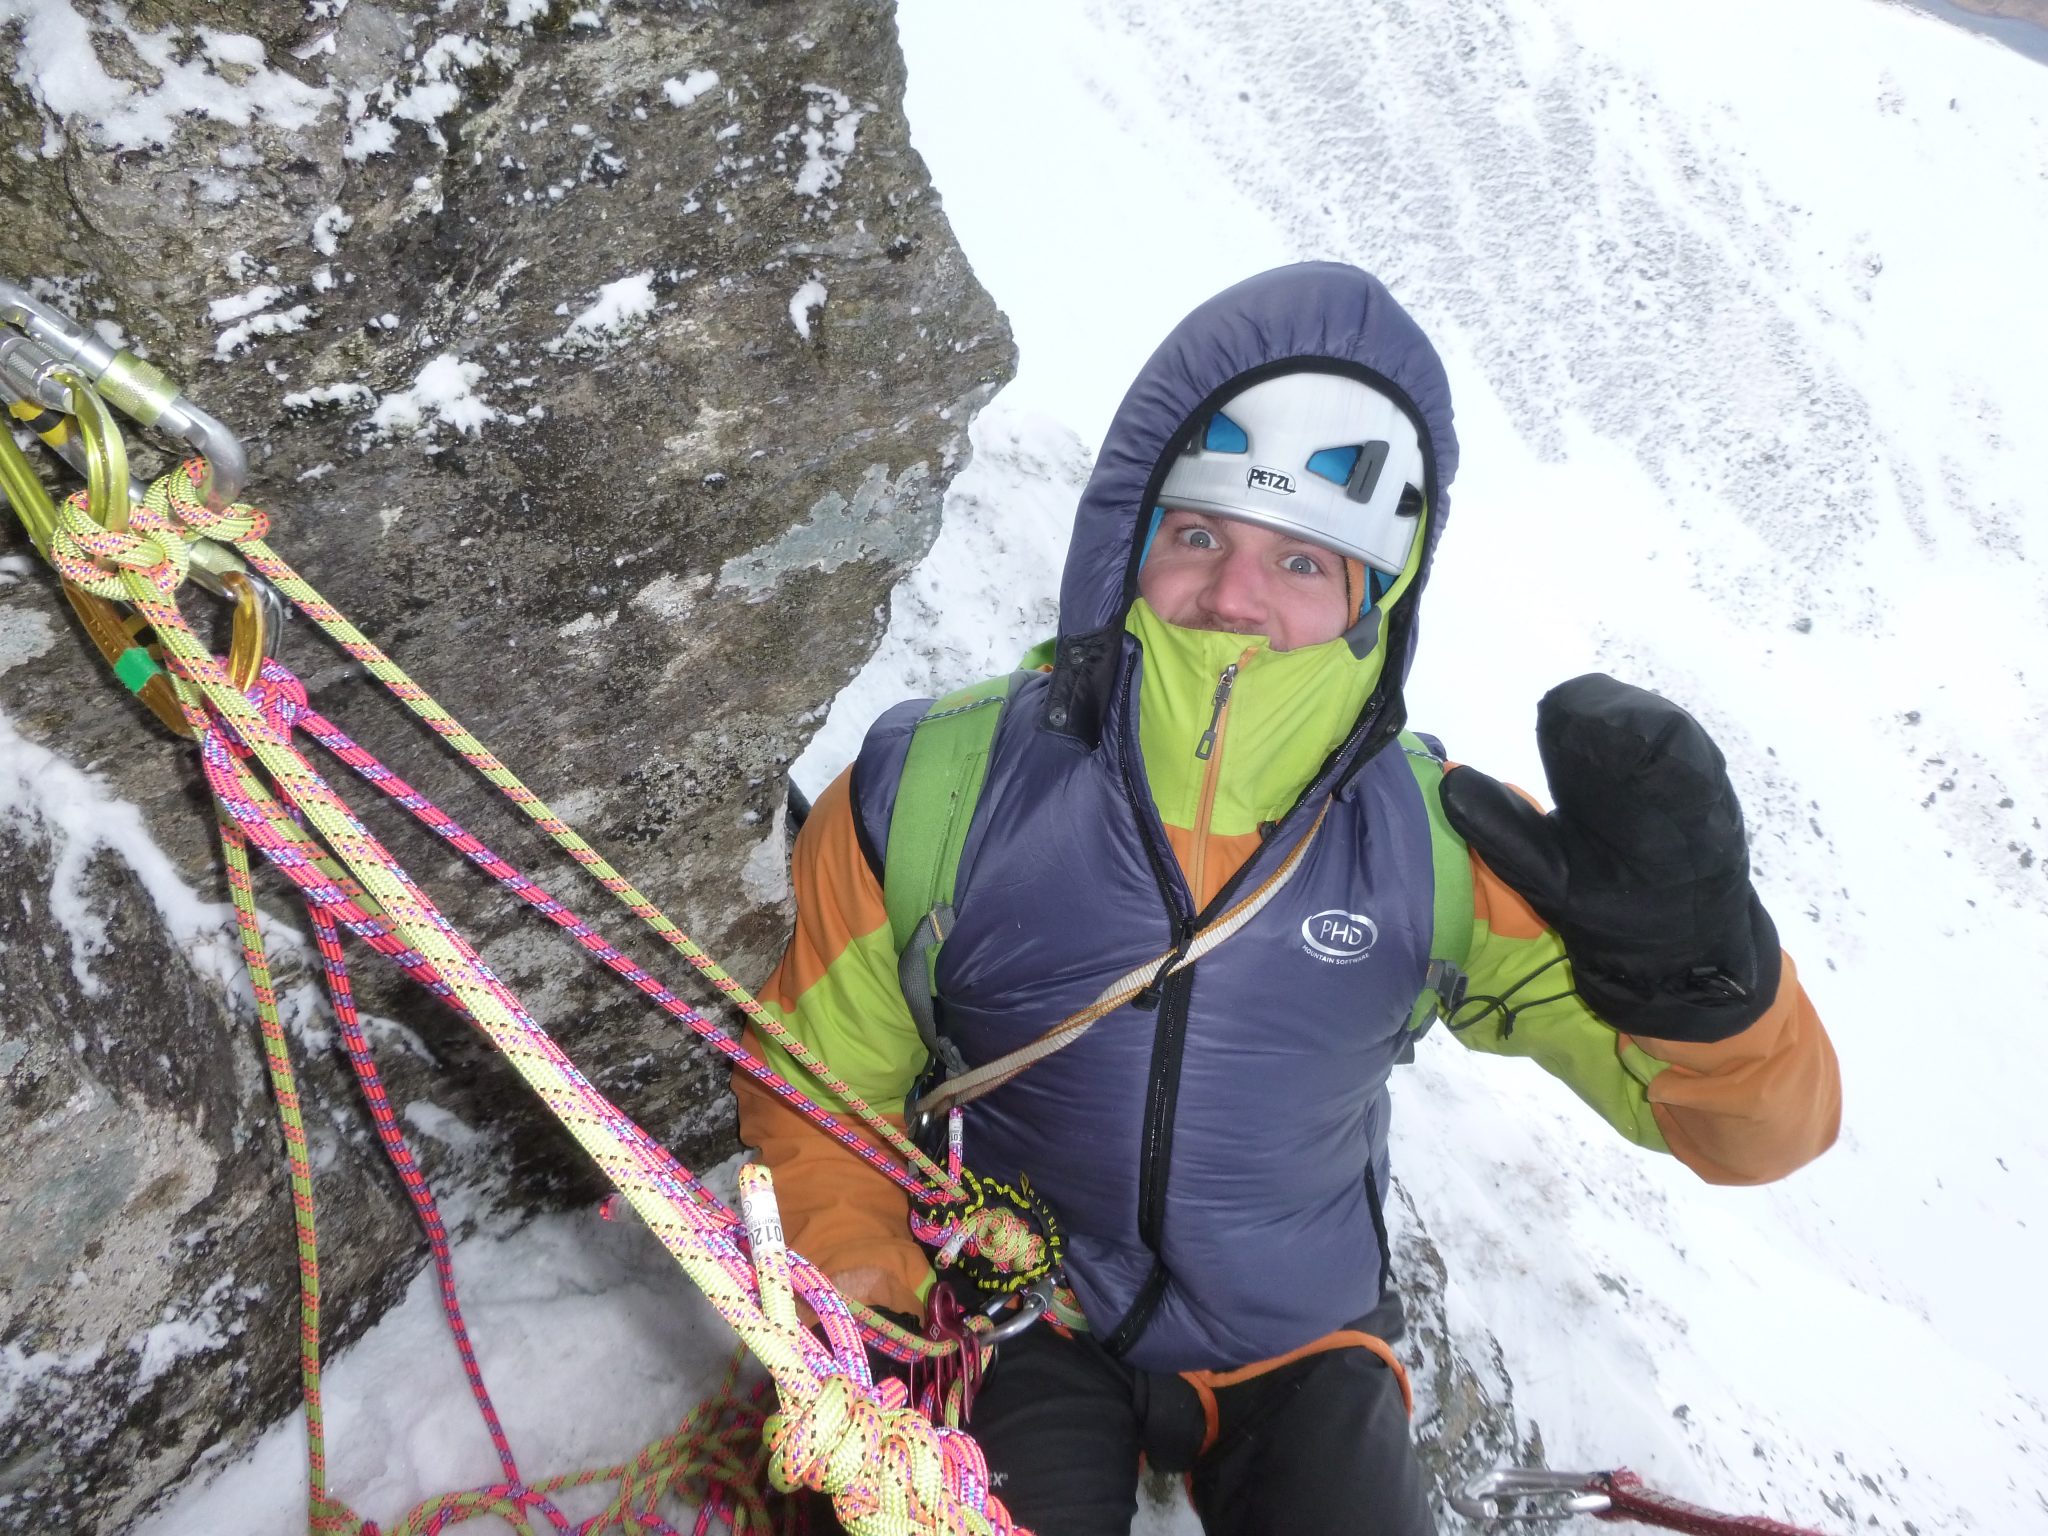
On my lower half, I wear merino boxer shorts with Patagonia Nano-Air Light Pants, on top of these I wear Patagonia KnifeRidge Pants which are made of Polartec Power Shield which are incredibly windproof yet have zips for venting and stretch for climbing movement. I wear these in all but the worst weather when I swap them for Patagonia Galvanised Bibs for a bit more weather protection. Up top, I wear a long-sleeved Patagonia Capilene Lightweight Crew baselayer underneath a Patagonia Houdini Windstopper jacket. This is just enough to keep the elements off and stop me from sweating too much on the walk-in.
Once established underneath a route I know the movement will be a lot slower and hence will need more layers. First on is my Patagonia Capilene Expedition Hoody which allows me to ditch my hat in exchange for a hood that sits nicely under my helmet. It also has handy thumb loops to make sure the sleeves don’t ride up your wrists. On top of that goes my Patagonia Nano-Air Hybrid Hoody which is a blend of fleece and synthetic insulation. The fleece is located in high output areas where you tend to sweat more and the synthetic insulation runs down the arms and chest. This top is one of the best bits of kit I have used but it isn’t the warmest – good motivation to move a little quicker!
My shell layer which acts as the final piece of armour is my Patagonia Knifeblade Pullover which like the KnifeRidge Pant is made of windproof Polartec and although it is a few years old is still my go-to softshell top. If it is particularly wet and windy I wear the Black Diamond Sharp End shell instead of the KnifeRidge Jacket. I like to think of these layers as my action suit that’s just about warm enough for climbing in the lead. When I am hanging around on belays I throw my Patagonia Hyper Puff Hoody over the top, which is quite heavy but worth it when it’s freezing!
Trekking Poles
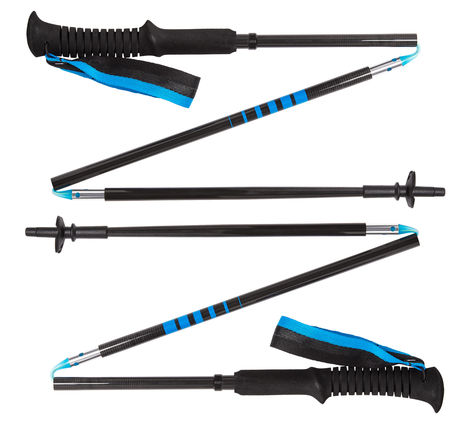
For me personally, it’s important to be able to fit your poles inside your pack whilst climbing. Maybe it’s just me, but a pole sticking out the top or side of a pack always gets in the way whilst taking coils, wrapping slings around your torso or thrutching up constricted routes. To get around this problem, I have the Black Diamond Carbon Z Trekking Poles, which collapse to just 36cm and weigh a very lightweight 142g each. I sometimes only take one as I like to have a spare hand for my axe or compass; I find this gives enough support for a big day on the hill. They will not last forever, but I am happy with the compromise in durability and weight.
Food & Water
I carry high-fat foods such as cheese and eggs along with some complex carbohydrate bars on the hill and I barely go a day without a slice of Christmas cake! I get by with a 500ml flask full of hot juice, accepting I will be dehydrated by the time the day is over.
About the author
Steve Holmes owns Synergy Guides, he is a fully qualified Mountaineering Instructor and holds the WMCI (MIC) award. He spends most of his winter climbing on the white cliffs of Ben Nevis; a place he calls home. You can read more about him here.


